


My copy of Frosty: a Raccoon to Remember by Harriet E. Weaver. This is a must for raccoon fans! True story!
From time to time I’m going to try out Liz’s and Robin’s tutorials, especially since I have no known skills to do my own tutorial, unless it’s called: “How to Doodle on a Piece of Paper”.
For today’s post I’m going to try and tackle Liz’s very ambitious color separation tutorial (she also explains the technique more in general here). It scares me the most! It is so far from how I would ever approach a final piece. So here goes, Ruthie outta the box, “keepin’ ’em separated” Liz style.
For starters, I think about raccoons a lot, probably way more than I should. So I figured I should probably use some raccoons for my piece. Raccoons are busy bodies, up to no good, with comical faces and chubby middles. But what will they be doing in my drawing? I was trying to thing of something civilized they could do in their own way and low and behold the tea party scene came quite naturally. I always sketch with whatever pen or marker is closest to me. Here’s the initial sketch.
(Raccoon side note: I was psyched that Lauren Castillo put this as her YouTube in her process interview.)
Here goes:
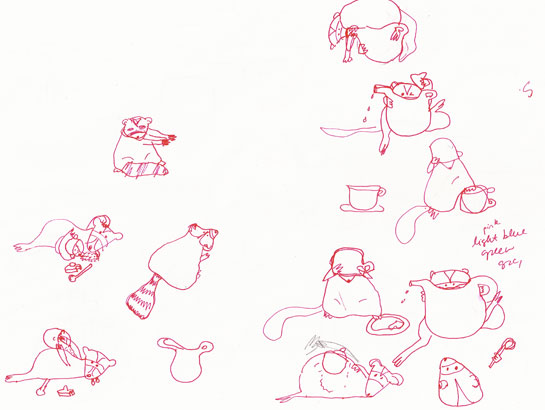
initial sketch

main sketch in pencil and marker on copy paper
Now it’s time for the tracing paper. Note to self for the future: be more diligent with the crosshairs I couldn’t get them to match up exactly, you’ll see at the end! Since I always see a piece as a whole when it comes to color, I had a lot of trouble deciding what parts I would want to be a layer of color. I originally planned for four layers but in the end I went with three. The main sketch above and the following two:

turquoise tea pot layer

brownish raccoon body layer

I ended up not using this version of the main sketch in dark blue.

detail with the dark blue layer
These were originally just pencil smears. I followed Liz’s plan to make them a single color using hue/saturation. I have to admit, this post is late because I almost couldn’t handle using the hue/saturation. I’m a fan of the color picker and the Pantones or even sampling with the dropper. Please don’t make me slide around awkwardly with percentages only to guess where a pretty color might lie! After throwing in the towel last night and some pep talk emails from Liz today, I was somewhat able to find some colors. Also, you may notice that my original color scheme was to be peachy (Riunite -anyone remember those commercials?) with light blue and dark blue. None of that happened.
I tried reds and greens and that dark blue layer, but ended up just liking the plain pencil/marker layer, which didn’t truly take advantage of this technique. So here is what my final three layers looked like together and then cropped a bit.

It’s almost done, but needs a background color don’t you think?
And finally, here is where I cheat a bit to finish it off. I had filled it with the bucket to do the background and then realized the sugar got colored too, so I had to go in and erase to get that detail right.
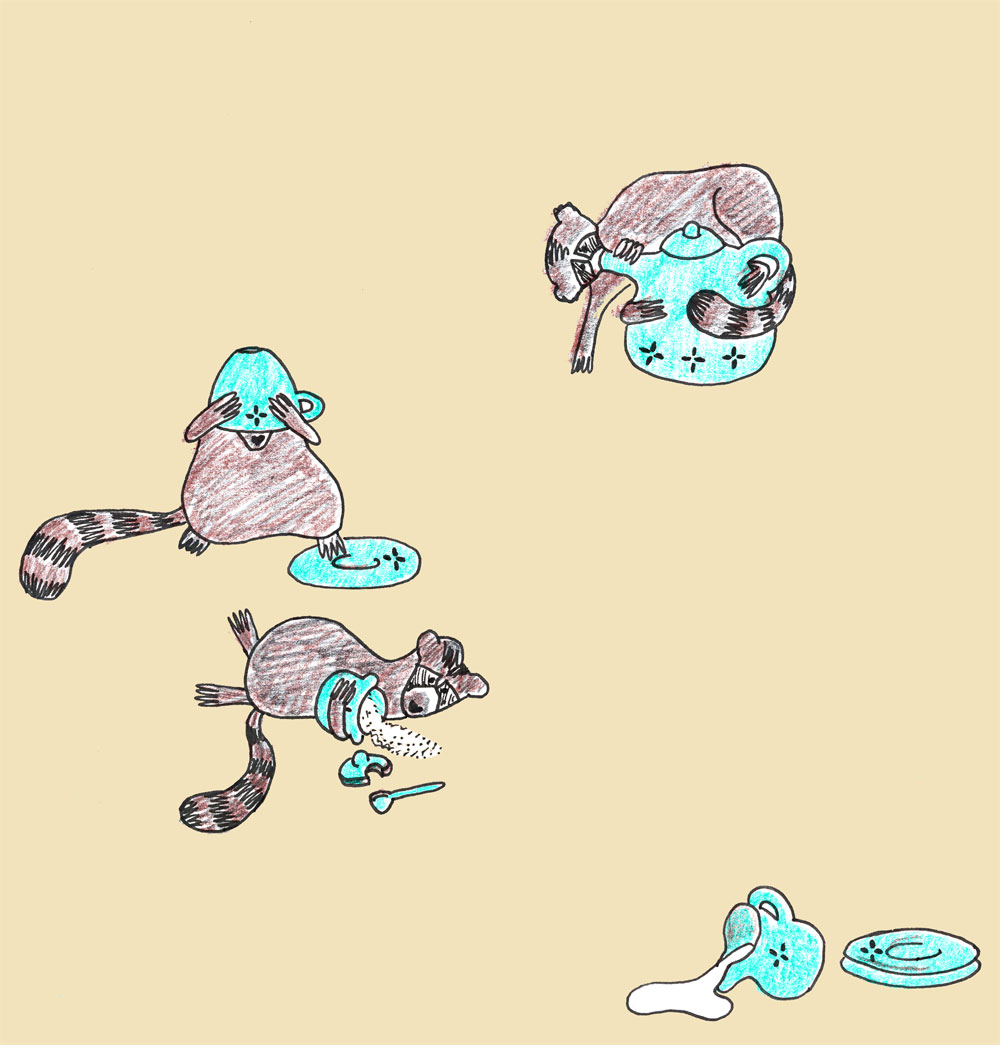
Raccoon Tea Party!!!
In the future, I would definitely plan better how to take advantage of the colors when they blend to get the most out of this technique. It was very useful to separate things visually and see how they could go back together differently. Now that I know the mechanics of it, it might be a little less harrowing next time!
Thanks, Liz, for this challenge! It was fun to be in your brain for a bit!
One final thing…my favorite raccoon YouTube: Raccoon Willie.

Thanks for visiting my brain!
LikeLike